So, to start where I left off, I had researched drawn bonnets for the 1860's and came across a lovely image of a great specimen.


From looking at the images, it seems that the canes are not relied upon for the shape of the bonnet. Typically there are two types of understructures, wire base and buckram base (sometimes a mix of the two). Wire bases are more for sheer bonnets or ones that don't require a lot of extra structure. Buckram bases are more sturdy and structured, and can be sewn directly into to keep fashion fabric in place. I inferred that the bonnet's understructure is a buckram base, which allows for the canes to be decorative. This explains the interesting pattern on the caul of the bonnet.
 |
| tiny bonnet! |
When I found the approximate shape I was looking for, I made real size paper prototype. This became the pattern.
 |
| paper and tape, that is all! |


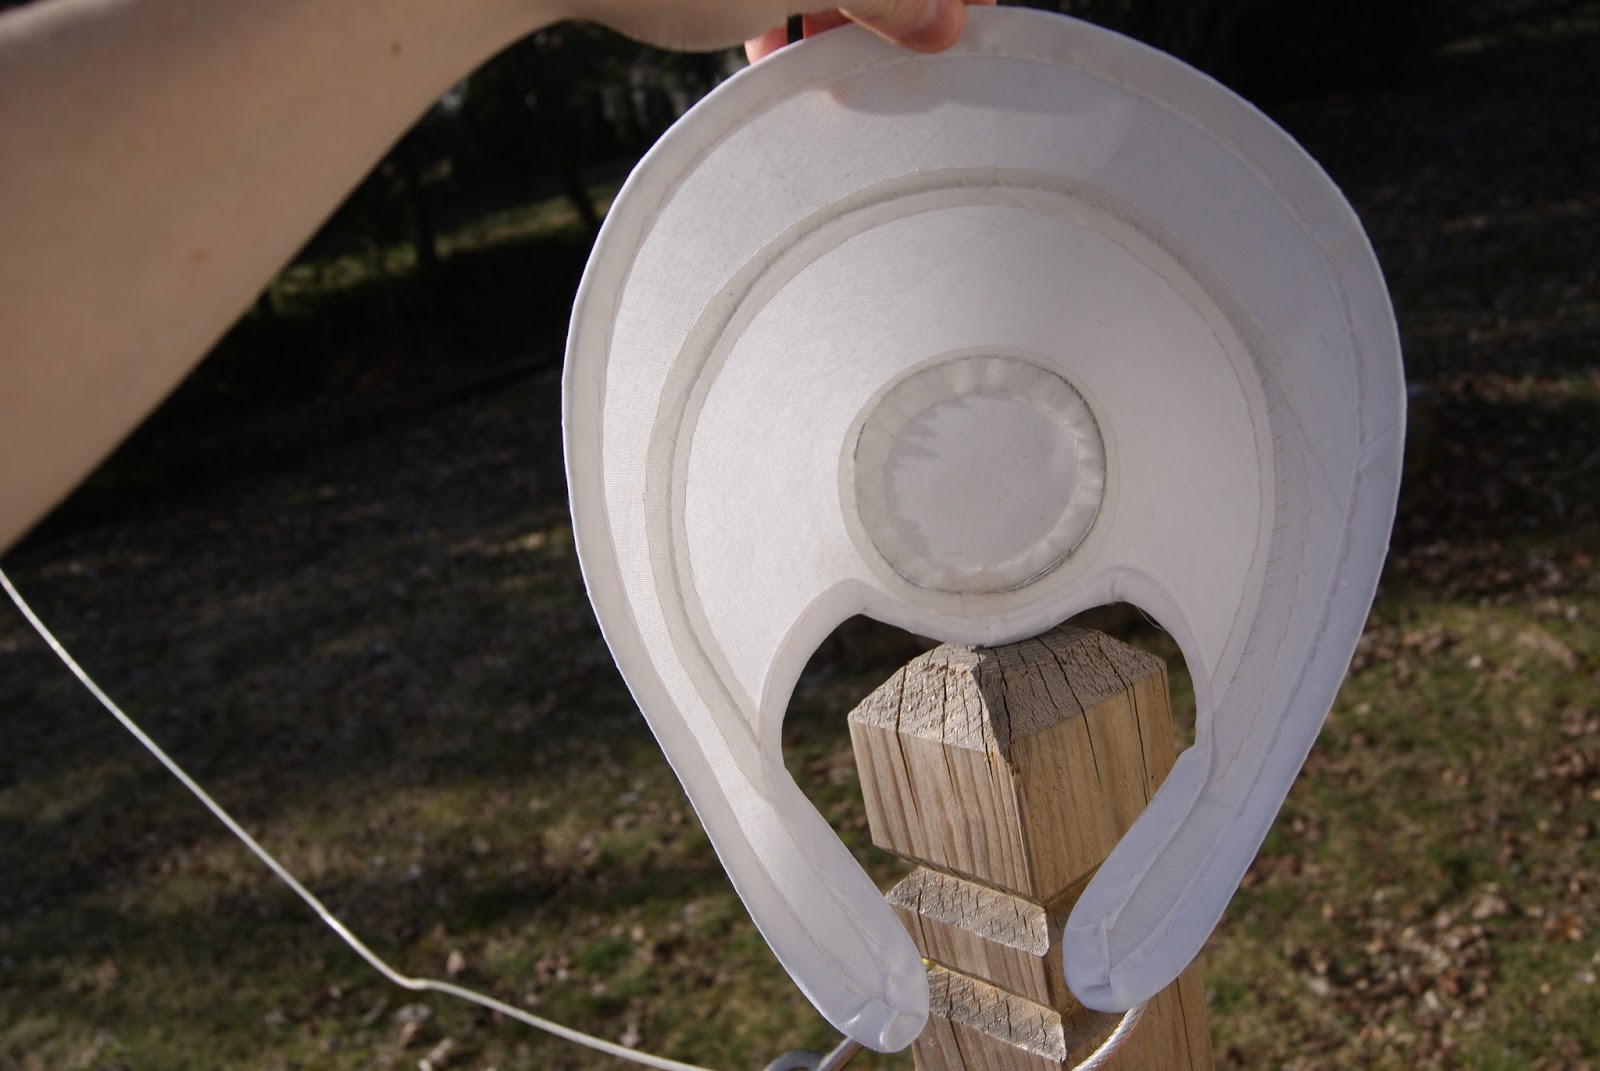

I ended up getting a great shape for my bonnet! I'm really pleased with the pattern.
No comments:
Post a Comment